A coating will not correct failed concrete. It will only follow the movement, cracking, debonding, and moisture pressure already present in the slab. Knowing how to repair spalled concrete before coating is therefore a surface-preparation decision with direct consequences for plant safety, cleanability, downtime, and coating service life.
In industrial facilities, spalls commonly develop at joints, traffic lanes, loading areas, column bases, drains, and locations exposed to impact or repeated washdown. The visible hole is only part of the issue. The repair must address the cause, remove all unsound concrete, and create a stable substrate that can accept the specified coating system.
Start With the Cause of the Spall
Do not treat every spall as a simple patching task. A forklift impact, joint-edge failure, freeze-thaw exposure, corrosion of reinforcing steel, poor original consolidation, chemical attack, and vapor-related deterioration can produce similar-looking defects but require different responses.
Begin by identifying whether the damage is localized or active. A shallow impact spall in otherwise sound concrete may need only a properly prepared repair mortar. A joint with broken arrises and ongoing hard-wheel traffic may require joint reconstruction and a semi-rigid joint filler. Where cracking continues through the repair area, the repair detail must accommodate movement or address the structural condition first.
Look for four conditions before specifying the repair: hollow-sounding concrete around the defect, cracks extending beyond the visible spall, exposed or corroded reinforcement, and signs of moisture or chemical contamination. If any of these conditions are widespread, a larger-scale floor assessment is usually more efficient than repairing isolated areas one at a time.
How to Repair Spalled Concrete Before Coating
The repair sequence matters. A high-performance coating depends on a mechanically sound, clean, and properly profiled concrete surface. Skipping a step to save a few hours can create a coating failure that takes days of additional shutdown to correct.
Define the Repair Boundary
Mark the full extent of deteriorated concrete, not just the visible break. Sound the surrounding slab with a hammer or chain drag where appropriate to locate delaminated areas. Extend the repair perimeter until the concrete is dense and well bonded.
Sawcut the boundary of the repair to create a clean, vertical edge. This step prevents a featheredge, which is one of the most common causes of patch failure under wheeled traffic. The required depth depends on the repair material and the damage condition, but the detail must provide enough thickness for the mortar to develop its rated strength and bond.
Square or rectangular repairs are often easier to prepare and fill consistently than irregular edges. At joints, however, preserve the joint function. Do not bridge a moving joint with rigid repair mortar and expect a coating to hold it together.
Remove Unsound Concrete Completely
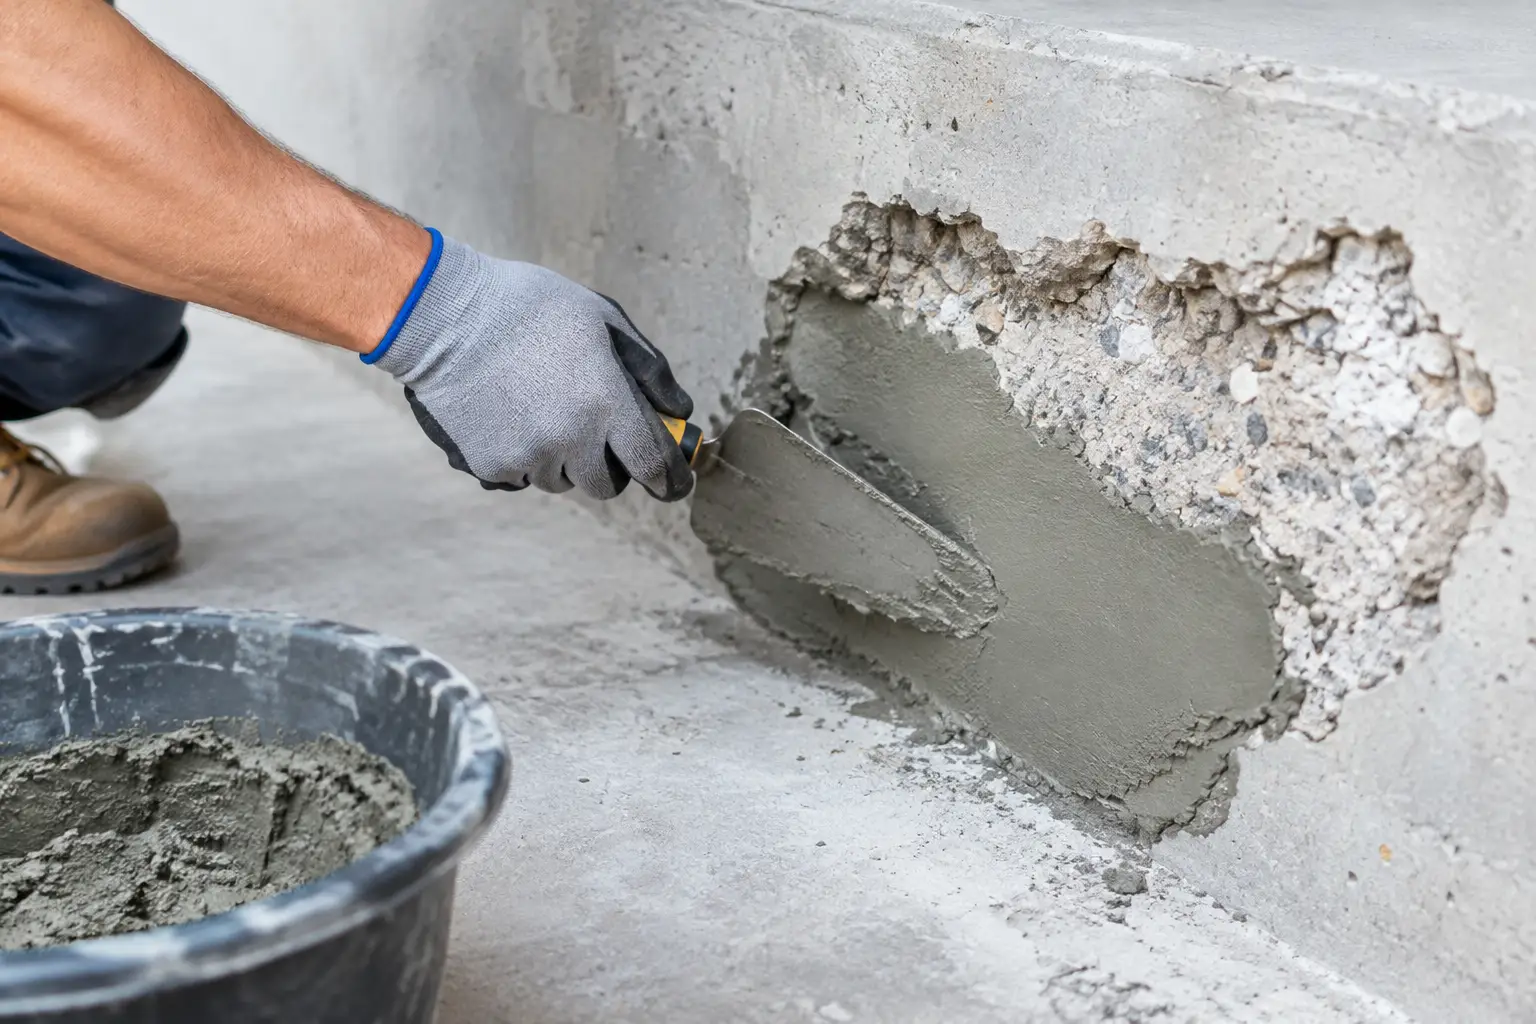
Break out the deteriorated concrete within the sawcut perimeter using methods that do not damage the remaining slab. Light chipping hammers, scarifiers, or other controlled mechanical methods may be appropriate depending on the repair depth and surrounding conditions.
Stop only when the exposed concrete is sound, clean, and free from weak laitance. The base of the repair should have a rough, open texture rather than a polished or fractured surface. Any weak material left at the bottom or edge becomes the bond line that governs the life of the repair.
Avoid aggressive demolition that induces microcracking in sound concrete. This is particularly important in slabs supporting narrow-aisle lift trucks, automated systems, or heavy production equipment, where flatness, stability, and long-term performance are operational requirements.
Address Reinforcement, Moisture, and Contamination
If reinforcing steel is exposed, remove concrete behind the bar as needed to allow proper cleaning and full encapsulation by the repair material. Remove rust to the specified condition and evaluate whether section loss affects the repair design. Severe corrosion may indicate a broader moisture or chloride issue that should be reviewed before placement.
Oil, hydraulic fluid, curing compounds, chemical residue, and dense surface contaminants can prevent repair bonding and later interfere with the coating. Mechanical removal is generally more dependable than relying on cleaners alone. After preparation, vacuum the area thoroughly. Dust left in the repair cavity is not a minor housekeeping issue. It is a bond-breaker.
Moisture conditions also need to match the selected material. Some cementitious repair mortars require a saturated surface-dry substrate. Many epoxy mortars require dry concrete. The requirements are not interchangeable. Follow the repair material data and confirm the slab condition before installation.
Select a Repair Material That Matches the Service Condition
Repair mortar selection should be based on the area of use, repair depth, expected traffic, cure window, and the coating system to be installed. Compatibility is more than whether the products can physically adhere. The repair and coating must perform together under thermal cycling, impact, abrasion, chemical exposure, and routine cleaning.
Cementitious, polymer-modified repair mortars are commonly used for deeper repairs and areas where moisture tolerance is needed. They can provide durable, economical restoration, but they require proper curing and may need time to dry before coating. Rapid-setting products can reduce downtime, though fast cure does not eliminate the need for moisture verification and surface preparation.
Epoxy mortars provide high early strength and strong resistance to many industrial exposures. They are often useful for thin repairs, heavy traffic areas, and time-sensitive shutdowns. Their rigidity and thermal behavior, however, make them unsuitable for every condition. At active joints or areas with slab movement, the repair detail must account for movement rather than relying on a rigid patch.
The selected repair should also be compatible with the planned coating thickness and finish. A floor that will receive a thin-film epoxy or urethane coating requires tighter attention to patch texture and profile than a floor receiving a thicker mortar or broadcast system.
Place and Finish the Repair for the Coating System
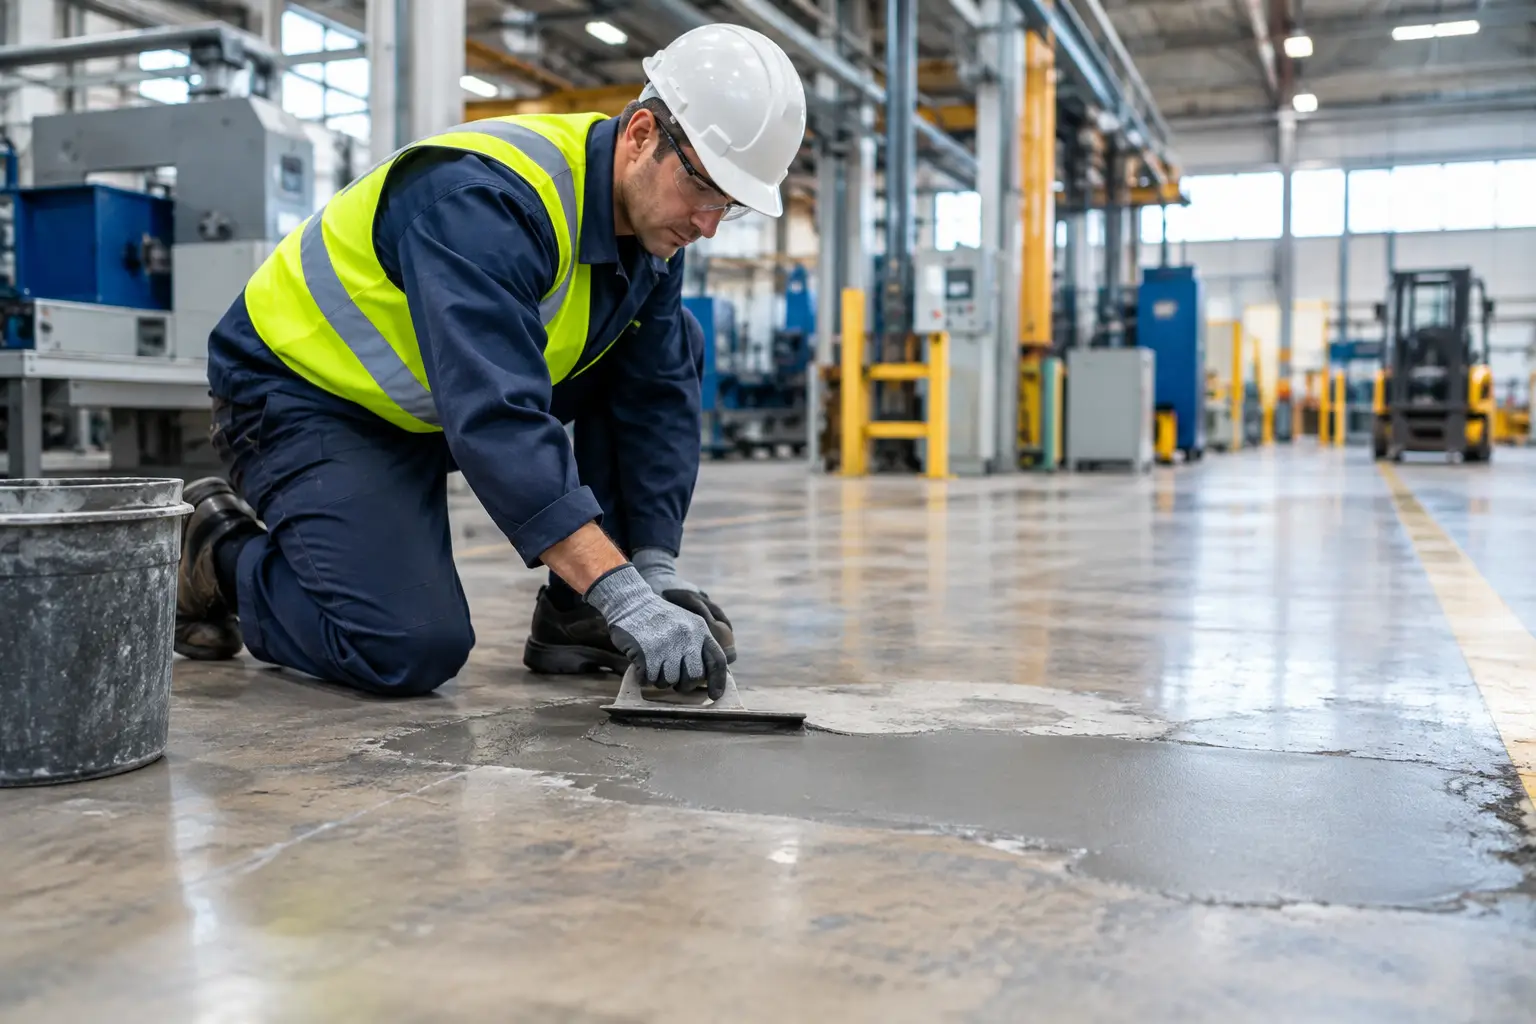
Install the repair material in accordance with its specified mixing ratio, temperature range, placement depth, and working time. Inconsistent mixing, excessive water, or placing material after its workable life has passed can reduce strength and adhesion even when the repair initially looks acceptable.
Consolidate the material into corners and against vertical edges. For deeper repairs, place in lifts if required by the manufacturer. Finish the patch flush with the adjacent slab or slightly proud when grinding is planned. Do not overwork the surface. A hard, burnished finish can require additional mechanical profiling before coating.
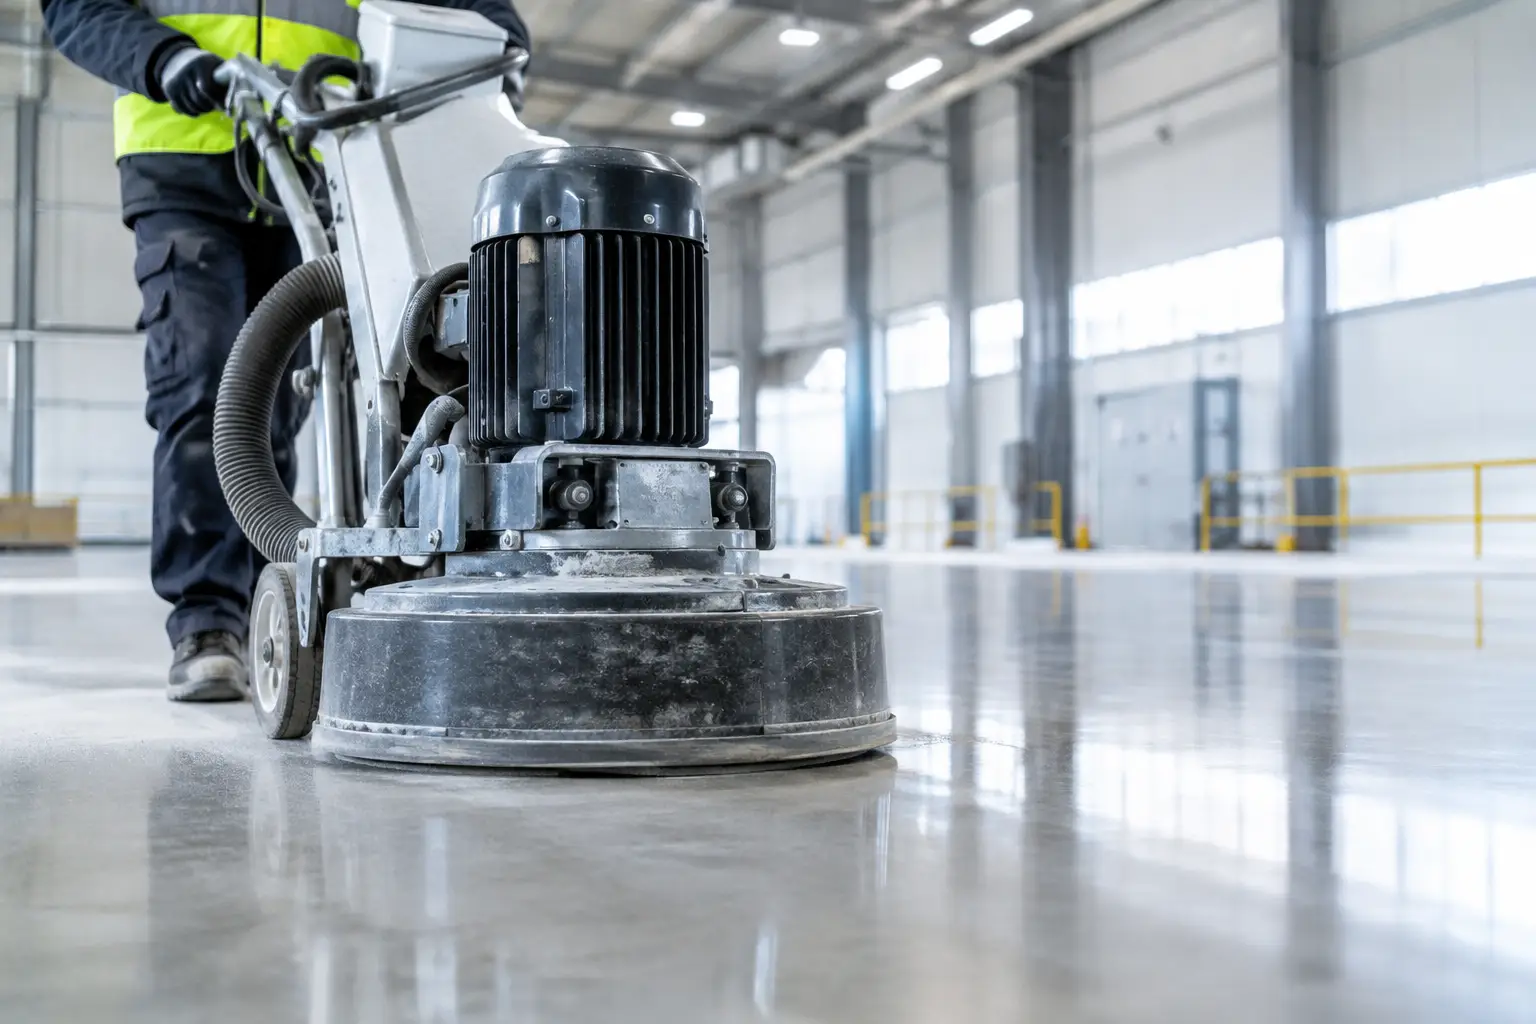
For industrial floors, flatness at repair locations deserves special attention. Small high spots can affect material-handling equipment, create impact points, and accelerate coating wear. Grinding after cure is often the most reliable way to blend a repair with the surrounding slab, especially in traffic lanes and VNA operating areas.
Cure, Verify, Then Prepare the Full Floor
A repair is not ready for coating simply because it feels hard. Cementitious materials need adequate curing and, in many cases, sufficient drying time. Epoxy repairs need to reach their stated cure condition and may require abrasion to create a coating-ready profile. Ambient temperature, slab temperature, humidity, and airflow all influence the timeline.
Before coating, inspect each repair for cracking, edge separation, pinholes, low spots, and weak surface material. Grind or abrade repaired areas as needed so their profile matches the coating specification. The entire floor should then receive the required mechanical preparation, typically by grinding or shot blasting, followed by detailed vacuuming.
Moisture testing should represent the actual slab condition, not just the repair area. A sound patch will not protect a coating from moisture vapor transmission through the surrounding concrete. Where test results are elevated, the coating specification may need a moisture-mitigation primer or a different system.
Joint repairs should be completed as part of the broader preparation plan. Coatings are generally not intended to lock moving joints in place. Depending on the system and operating conditions, joints may be honored, filled after coating, or detailed with compatible materials. The right sequence depends on the floor design and the facility's traffic demands.
Common Failures That Shorten Coating Life
Most premature failures trace back to a limited number of execution errors: placing repair material over weak concrete, leaving feathered edges, using a patch that is incompatible with moisture or traffic, coating before the repair has cured, and failing to profile or clean the patch before coating.
Another frequent problem is repairing only what is visible. If the concrete around a spall is delaminated, the repair may appear successful until forklifts, pallet jacks, or thermal cycling break the weak perimeter loose. Proper sounding, sawcutting, and removal of unsound material protect the edge of the repair, where failures commonly begin.
For active industrial environments, sequencing is also part of quality. A repair plan should define work zones, access routes, cure protection, return-to-service timing, and final acceptance criteria. Osis Group approaches floor repair and coating work as one integrated system because the substrate condition determines the outcome above it.
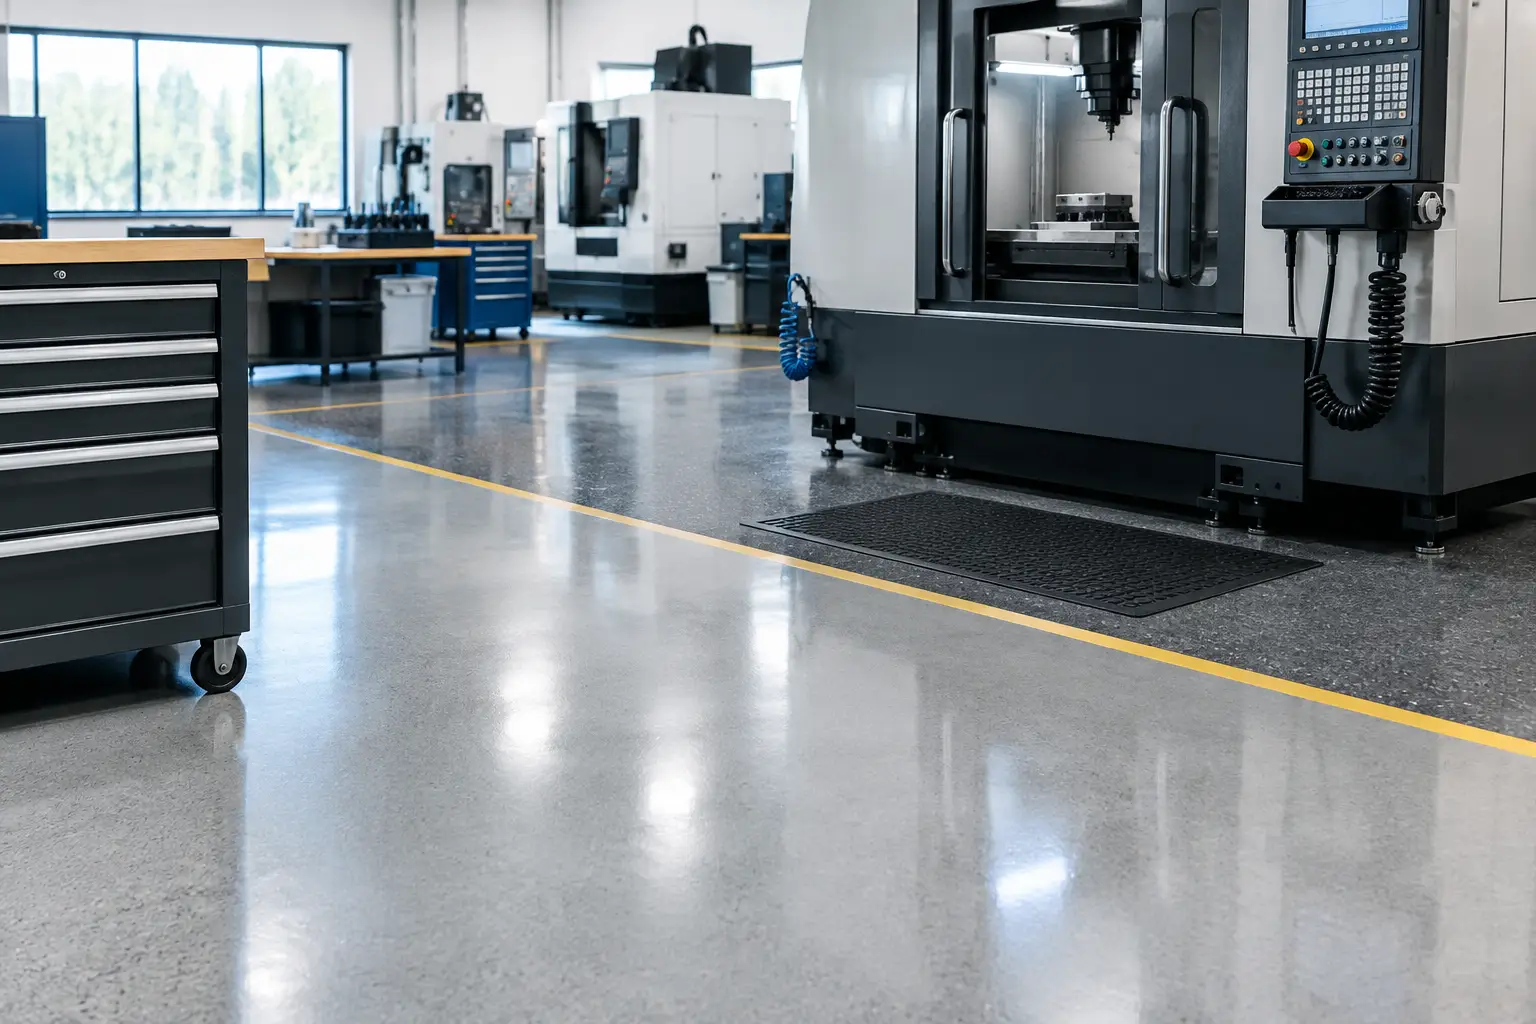
A repaired slab should be stronger than a schedule-driven patch and flatter than a traffic hazard. When the defect is correctly diagnosed, the concrete is prepared to sound material, and the repair is cured and profiled for the specified coating, the finished floor has a defensible path to long-term performance.